
In Multiversus, Wonder Woman is the first character players unlock. She’s a great character to learn the basics of the game with, but many people drop her after unlocking a newer, shinier character. Their loss, because she has a strong kit and, when it’s built right, she can dominate, especially after the most recent patch that buffed her.
If you somehow got mixed up and want to know how to play the Iron Giant, we have you covered.
The Basics
Wonder Woman is a tank who is hard to kill, especially after getting buffed in patch 1.0. Her kit has a lot of utility that’ll help protect herself and her allies. She’s easy to learn and is great both in 1v1s and 2v2s. She has a whip that helps control the position of her allies and enemies, a move that grants her team armor, and a shield that absorbs projectiles to power-up one of her attacks.
The downsides of playing WW is that she can do damage, but has a hard time confirming kills, she can feel sort of basic compared to other characters with flashier move sets, and she’s not even the best tank available at the moment – Superman is.
That being said, you can easily overcome her cons with the right strategies and enough time in the lab (training mode) as her pros more than make up enough for any flaws.
Wonder Woman Multiversus Move List
Since the game’s move list does a fantastic job of explaining her kit, I’ll go ahead and only touch on ways to use her moves.
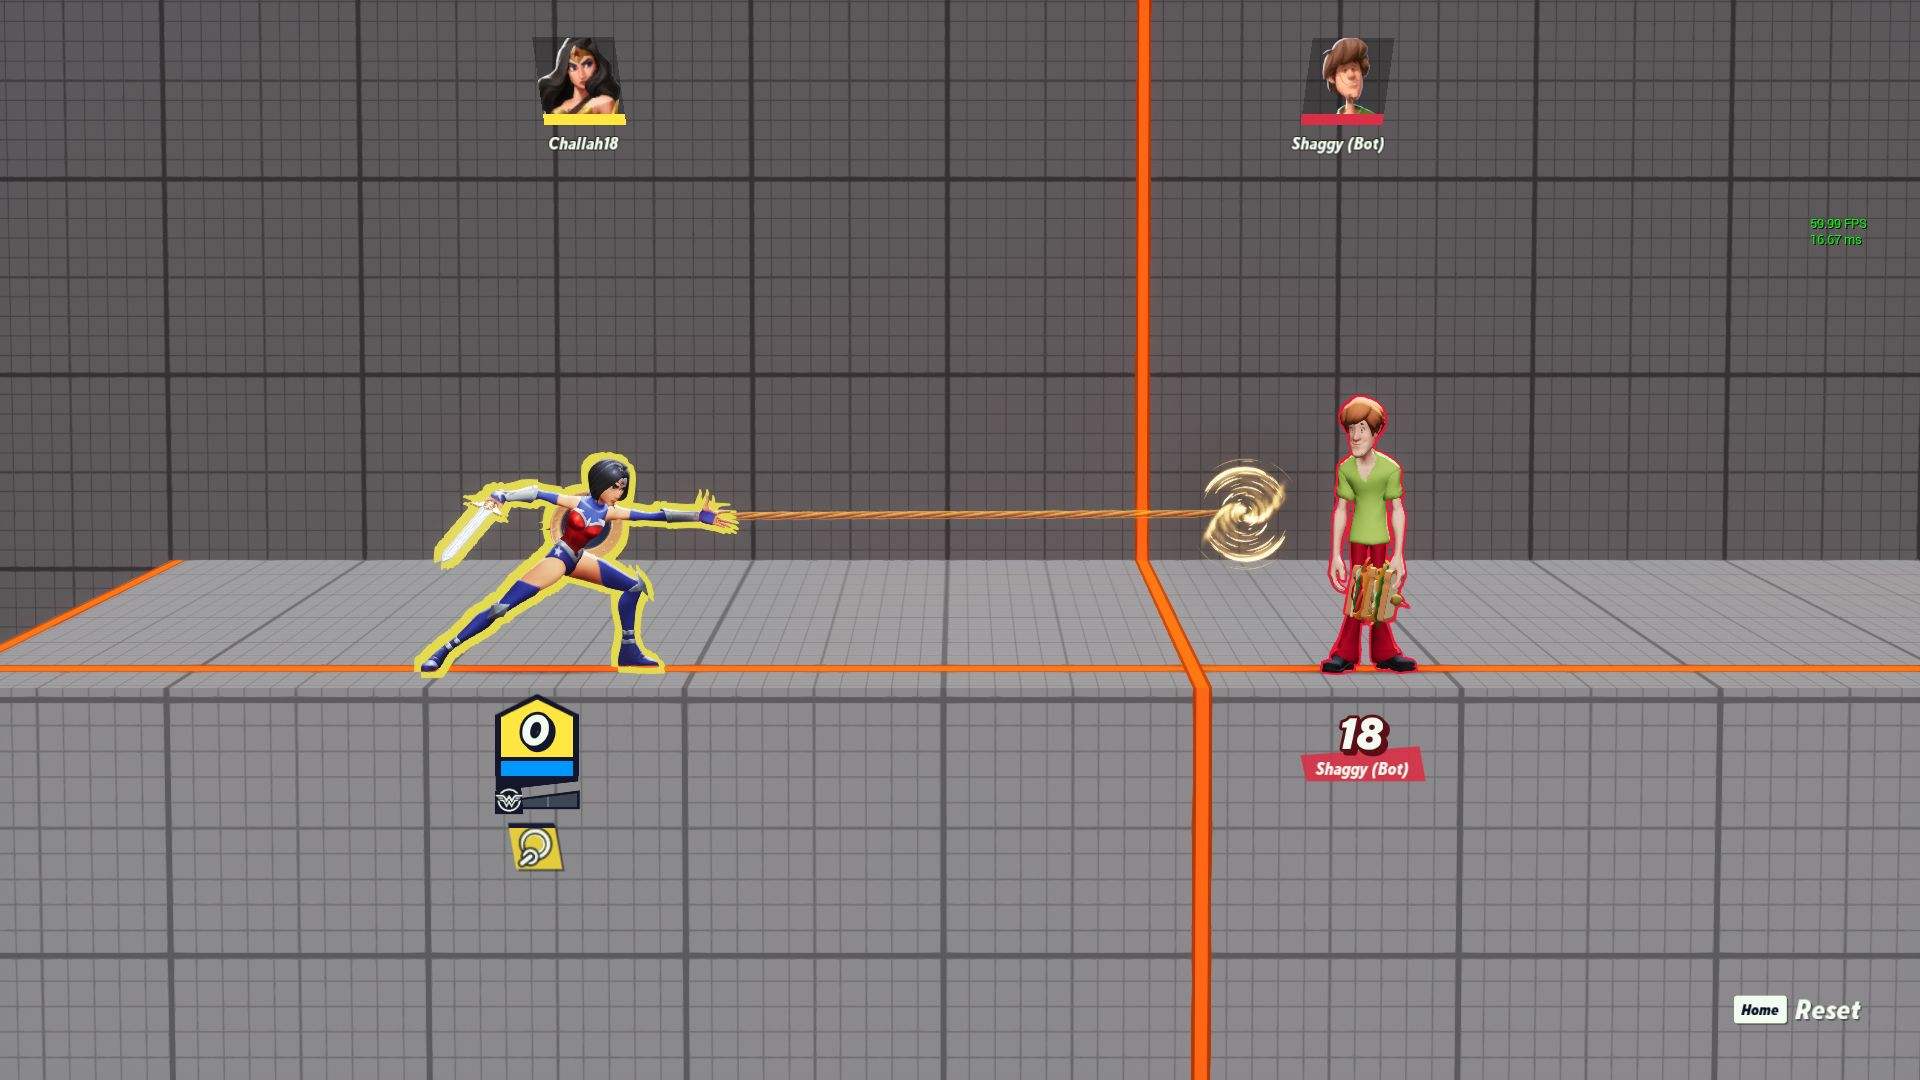
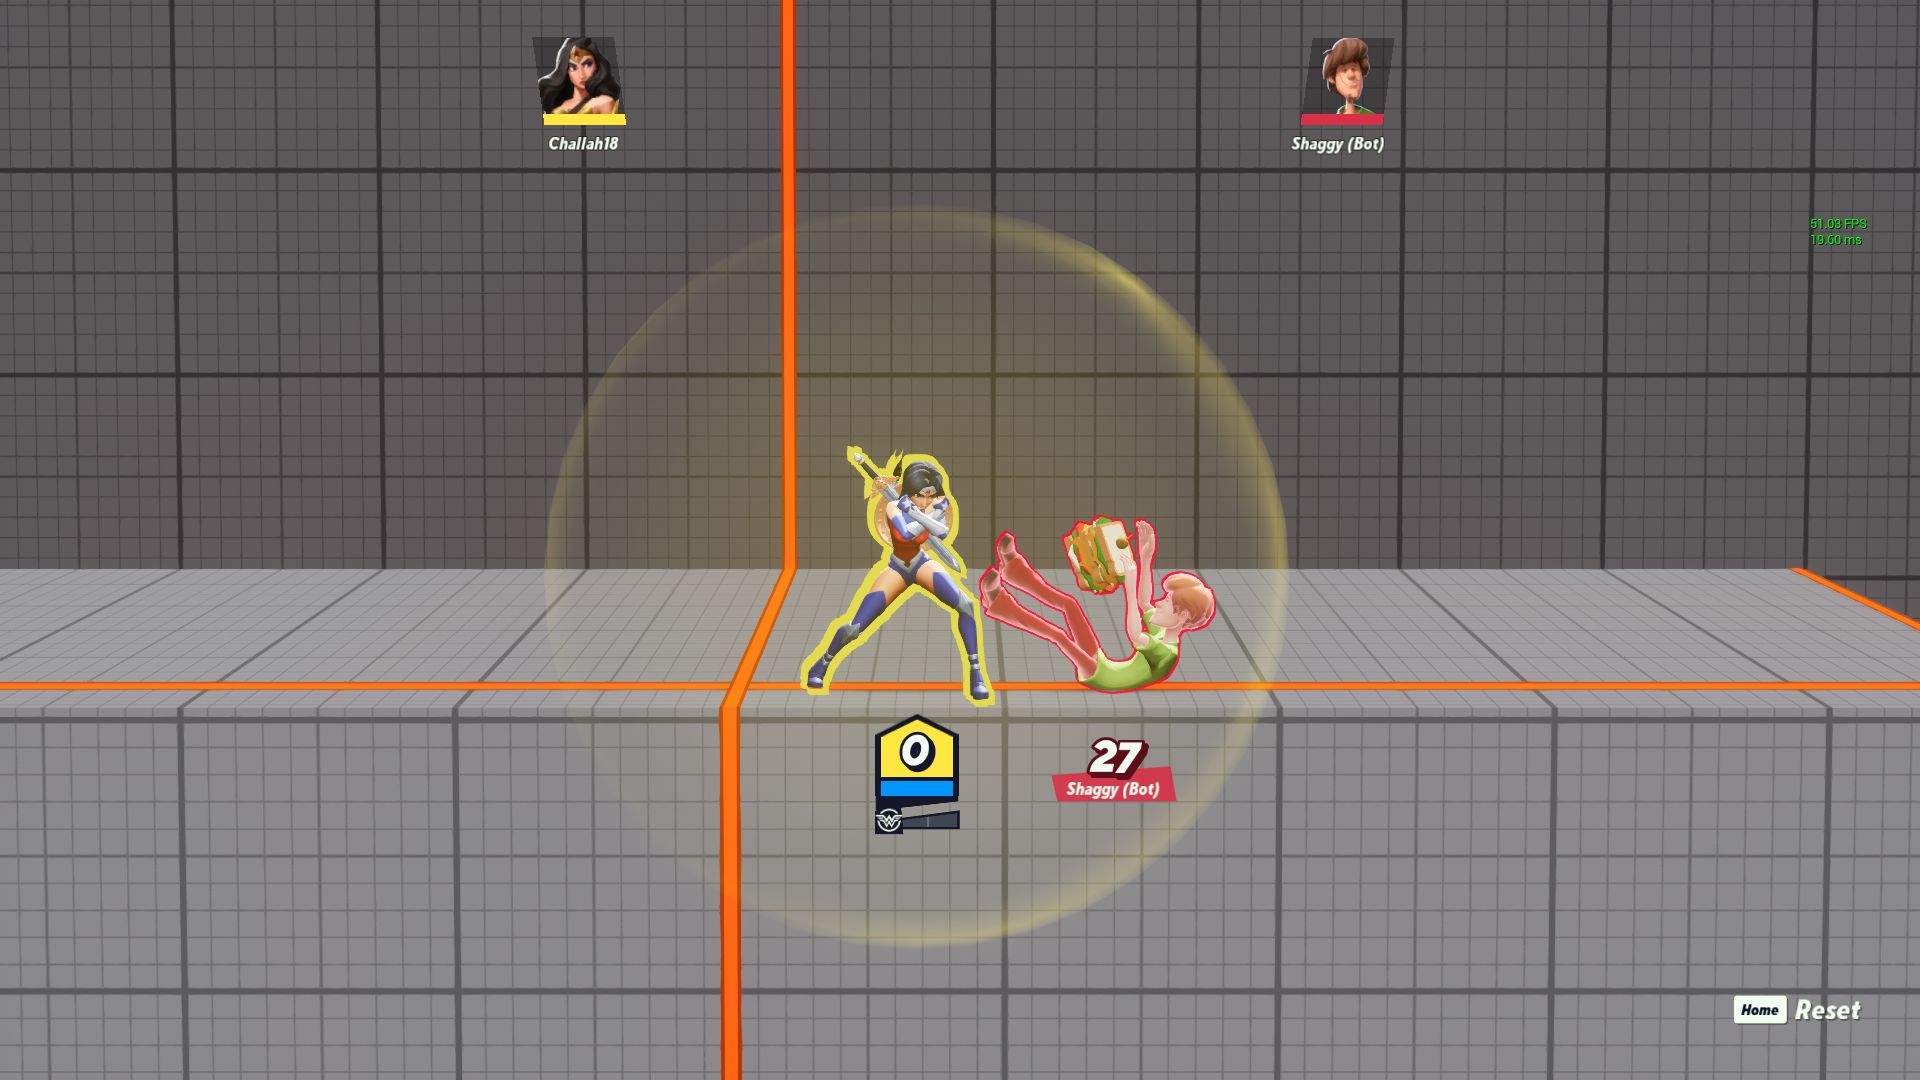
Neutral Special
If you have Whip of Hephaestus equipped, this becomes one of the deadliest tools in your entire move list. It adds a strong knockback if you hit opponents with the tip of your whip.
One of the best ways to get a K.O. is to use your fully charged neutral attack to send your opponents off-screen then hit them with the sweet spot to finish the job. It’s useful, because it can be controlled to hit foes in front of, above, and below you, so no matter where they try to approach you from, you can score a finishing hit.
Side + Special (Ground + Air)
This is a move that builds your bracer meter (see later in the guide) to help you unleash a powerful charged AoE down + attack (ground) that can truly mess your opponents up. It’s used to block projectiles as well as do damage, and each projectile charges your meter.
In the air, you can control the direction that you’ll go by pressing only the side button or going diagonal to fake opponents out or knock into them when they least expect it. It can also be a great way to save yourself if you don’t think your up + special will.
Down + Special
Don’t forget to use this. Its obvious function of providing armor is invaluable, but it can also be a valuable escape mechanic in 2v2s as she teleports to her ally if they’re close enough. It’s a good way to reunite and gain the upper hand if you’re being pushed out of the sides. When opponents break the armor gained from this, your bracer meter increases.
Up + Special
A great way to save yourself if you’re close to falling off the sides, and it provides the benefit of being a platform for characters standing on top of it. If you can manage to knock an opponent high enough towards the top of the screen, landing two of these in a row can usually score a kill.
Neutral Attack, Up + Attack (Ground)
These are two charge moves that can help you get kills. Neutral attack sends opponents flying to the side – if they’re high enough damage, they’ll get knocked out, but if not, use your whip’s sweet spot. Up + attack will knock them up into the air, sometimes scoring a kill, but usually better used as a set up for air attacks.
Side + Attack (Ground), Neutral Attack (Air)
Your side + attack (ground) is an autocombo of sorts that should be used along with neutral attack (air) to build up your opponent’s damage percentage. They’re not flashy or the most important moves in your kit, but they help you set the others up.
Down + Attack (Ground)
Now you get the bracer meter explanation. It serves the purpose of enhancing your down + attack (charge) move. When your meter is full and the attack is fully charged, it can knock some of your opponents out if they’re at a high enough percentage. It’s a bit hard to pull off, but it’s easier to do in a 2v2 situation.
Down + Attack (Air), Up + Attack (Air)
Great for finishing opponents off in their respective directions. Up + attack is especially deadly in-air when you hit them in the sweet spot as it functions almost like Super Smash Bros. baseball bat smash.
Special Note About Granting Armor
There is a little known tip for Wonder Woman in 2v2s. Not only does her down + special grant you and your ally armor, so, too, do your side + special (ground), up + special, neutral + special, and down + attack (ground). This is your friendly reminder to spam that armor!
Recommended Wonder Woman Builds
Whip of Hephaestus + Utility Perks aka the Killing Build
This is one of the most common builds you’ll see at the moment mentioned as the optimized way to play her. Your signature perk will be Whip of Hephaestus as it greatly increases your chances of getting a K.O. against opponents with a high enough damage percentage.
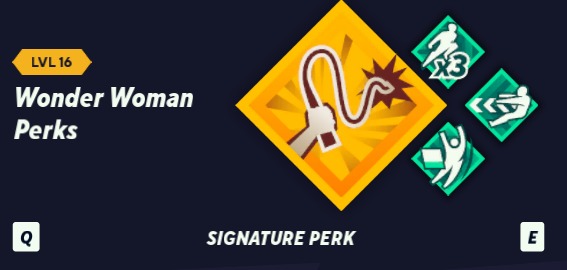
For the other perks, you should focus on utility. Go with Triple Jump, Tasmanian Trigonometry, and I Dodge You Dodge We Dodge to maximize your usefulness. The first lets you have better air recovery and fighting ability, the second boosts your otherwise mediocre knockback, and the third lowers your cooldowns which is helpful as you want to spam them as much as possible.
For an alternate build, you can swap out the dodge perk for Coffeezilla for a similar effect.
Shield of Athena + Mixed Perks aka the Defending Build
This was the build I first went with when I started playing Wonder Woman in Multiversus as I found it helped me the best to tank in a 2v2 match when teamed up with a character that has better kill potential. Your signature perk is Shield of Athena as it helps you block more projectiles which is especially helpful against characters like Tom & Jerry, LeBron James, etc.
The other perks should be Kryptonian Skin, Back to Back, and Stronger than Ever. The first two increase your defensiveness with the second being a great incentive to always be near your ally (which your down + special will help with). The last one is a great way to gain lost ground if you’ve been knocked out once or twice in the match. You can swap out Back to Back with Purest Intentions to gain both the armor and bonus damage when an ally or yourself die.
If you can’t get enough of Multiversus, check out our suggestion of the top ten funniest character suggestions for the game.


