
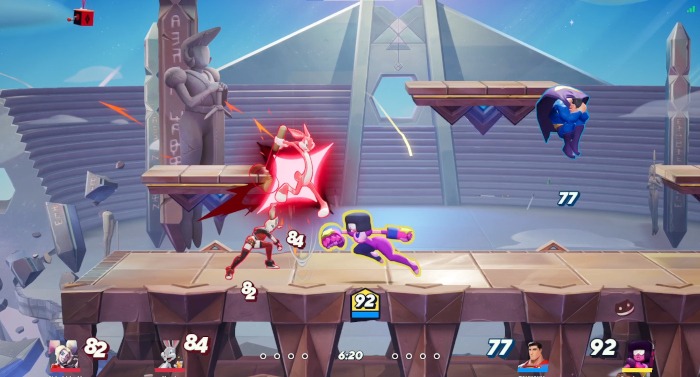
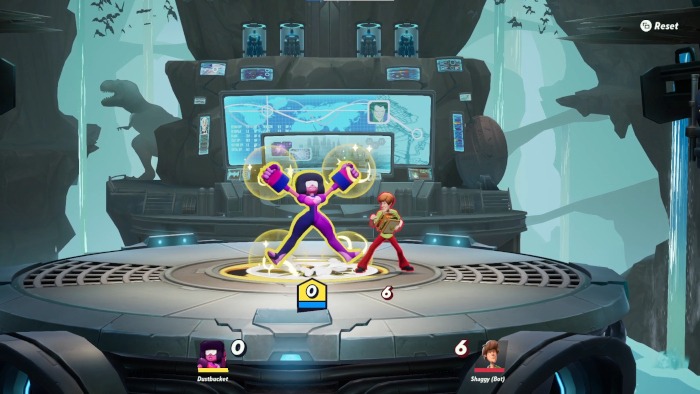
Garnet can be a tricky character to play in Multiversus. On the surface, she can’t tank as well as Superman or the Iron Giant, and her attacks aren’t on the same level as Finn or Batman’s. So where is her niche? What does she do well?
Besides being the walking embodiment of a stable relationship, one of Garnet’s greatest aspects is having a tool for almost every situation. These tools can be take a little practice to figure out, so we’ve made this guide to help you learn how to use her strengths to win games of Multiversus.
More interested in learning how to play Iron Giant? Here’s our guide to piloting the best robot.
The Basics
Garnet is a bruiser who can do a little bit of everything. Her projectiles allow her to control space fairly well and her armored Crystal Combo follow-up allows her to dominate close-range engagements. She’s also able to stall projectile teams with her neutral special, Stronger Than You, which stops and reflects all projectiles.
Her biggest weakness is that she doesn’t excel at any specific job and her attacks are either fast with a short range, or slow with a respectable range.
Noteworthy Attacks
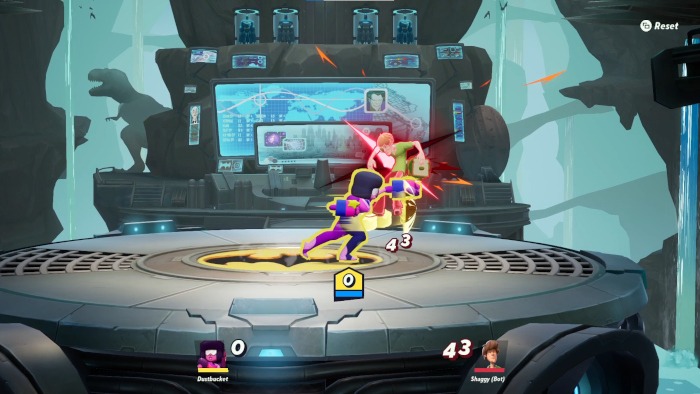
- Forward + Attack (Crystal Combo): This is the Bread-and-butter of your moveset. Garnet will move forward and unleash a flurry of punches. These punches will do everything you’ll ever need in a game. It’s a combo starter, a combo link, an on-stage edgeguard, and a way to pressure players in neutral.
This move has four different endings:
- If you input Up + Attack after the initial Forward + Attack, Garnet will finish with an uppercut. This uppercut will cover a decent horizontal and vertical distance and, at higher percentages, it will knock opponents upward for some juggle opportunities.
- An additional Forward + attack input will have Garnet gain armor and slam her fists downward. This is one of Garnet’s best moves. The armor prevents other players from stopping you while you finish your combo, making it the perfect tool for knocking players away in 2v2s. It also has good enough knockback to be a kill move.
Using this at the ledge means your opponents have to time a dodge to get back safely since they can’t hit you out of it. You can also delay when the final hit comes out, which can mess up your opponent’s dodge timing. More often than naught, this attack will win you more fights than it should. But use it sparingly because attack decay will rob this attack of its effectiveness if used too often. - The Down + Attack finisher has Garnet swing her fists around her body then slam the ground. The final hit is a spike, so if you connected a Forward + Attack while your opponent is dangling over the ledge, then follow-up with the Down + Attack finisher to spike them into the blast zone. This finisher isn’t bad if you need damage since it deals slightly more than the others.
- There’s also a neutral + Attack follow-up, but you’ll rarely used this since the other options are better.
- Up + Special (Spark of Love)(Overhead Clap): Garnet fires an electric ball that arcs upward. When it lands, Garnet and her teammate can touch the ball to get the electrified status. Allies who touch the ball will also get increased melee damage. The ball will explode after a long delay. Spark of Love is useful for stage control, team buffs, and combo extensions.
When this move is on cooldown, Garnet will perform an overhead slap what has a good amount of knockback and a surprisingly large hitbox. This attack is best used to get knockouts on opponents above Garnet.
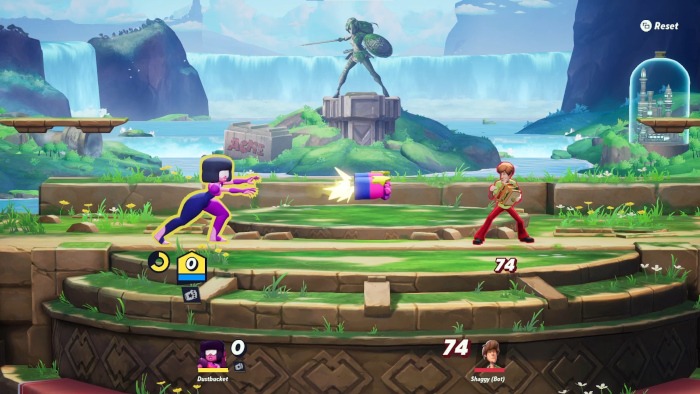
- Side + Special (Rocket Fist)(Shoulder Charge): Garnet launches her gauntlets and knocks opponents away based on the angle they hit. As a result, if you land the gauntlets at a downward angle, then the opponents will be knocked downward and away. This is also why it’s better to jump first then fire Rocket Fist so you can take advantage of the downward angle.
On cooldown, Garnet charges forward with a shoulder tackle. The attack is fast with little recovery, and the angle can be adjusted if this move is used in the air. Shoulder tackle is amazing to close gaps and recover back to the stage with. Both in the air and on the ground, you’ll usually want to follow this with Forward+Attack. Both the air and ground version of Forward + Attack are fast enough to take advantage of Shoulder Charge’s short recovery.
- Down + Attack (Shocking Slam): Garnet briefly charges her gauntlets before slamming them into the ground and releasing a lightning bolt that travels along the ground. The longer this move is charged, the further it travels. At full charge, Shocking Slam covers a long distance. When the lightning bolt comes into contact with an enemy, it will launch them toward Garnet.
At high percentages, Shocking Slam is perfect for kill confirms. Shocking Slam combos into both of Garnet’s up+specials, Crystal Combo, or when you’re near a ledge, Down + Air.
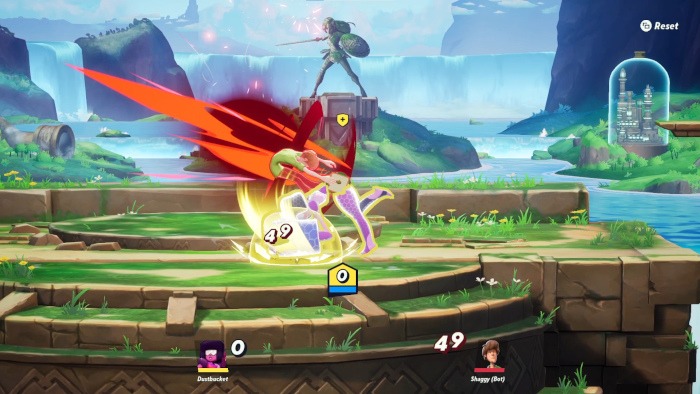
- Neutral + Air Attack(Starburst): Starburst practically covers Garnet in one big hitbox. Her legs are able to spike opponents or send them in awkward angles to recover from.
Starburst is also one of the few aerials Garnet can be charged in the air. This makes it useful to land a strong hit on opponents below her if you charge it in the air, fast fall, then release it.
Recommended Perks
Armor Crush: Against opponents with armor (like Superman), Armor Crush will allow Starburst, Shocking Slam, and Falling Fist win neutral.
Coffeezilla: Garnet has plenty of cooldowns and Coffeezilla means you’ll send out Rocket Fist and Spark of Love more often.
Strategy
Use your projectiles and armor to control space, save your teammate, and rack up damage.
When you’ve knocked your opponents off-stage, Garnet becomes an edgeguarding monster. She has four different ways to spike opponents (neutral air, rocket fist, down air, Crystal Combo’s Down finisher), and Crystal Combo is able to cover most ledge options outside of a well-timed dodge. Use these tools to cover the ledge and secure knock outs.
Important Combos and Links:
These work when the opponent is below 100 damage:
- Down + Air (Falling Fist) > Forward + Attack (Crystal Combo) > Up + Special (Spark of Love) > Forward + Attack (Crystal Combo) > Any finisher
- Falling Forward + Air Attack (Flying Combo) 1 hit > Forward + Attack (Crystal Combo) > Up + Special (Spark of Love) or Forward + Special (Shoulder Check) > Forward + Attack (Crystal Combo)
Knockout Confirms:
These work above 100 damage, but below 200.
- Down + Attack (Shocking Slam) > Up + Air Special (Flying Crossarm)
- Down + Attack (Shocking Slam) > Forward + Attack (Crystal Combo)
- Forward + Attack (Crystal Combo) > Up + Special (Overhead Clap)
- Forward + Attack (Crystal Combo) > Forward Special (Rocket Fists)
Need more platform fighter goodness? Here’s our comparisons between Multiversus and Smash, and the best platform fighters you should play in 2022.


