
There are 49 different perks to choose from in Multiversus. Each one has a unique effect and gets more powerful when your teammate also selects the same perk. After you pick who you want to main, the next question you should ask yourself is “what perks should I be running?”
With so many perks to choose from and even more combinations to experiment with, it can be overwhelming to think of which perks make the most of amount of sense to use. Which ones are worth it to stack? Which ones are better by themselves?
To help you decide which perks is best for you, we’ve made this list of perks you should consider using in your builds.
Want to learn how to play Multiversus? Here’s our complete guide to the latest game in town.
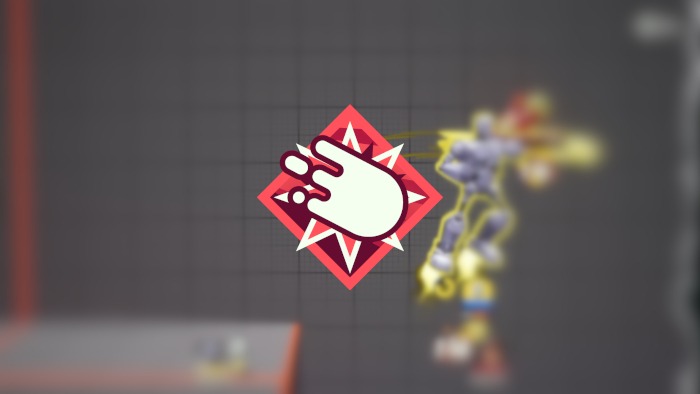
1. Snowball Effect
Effect:
- Solo: Your team deals 7% increased damage against the fighter with the highest damage.
- Stacked: 15% increased damage instead of 7%.
Most damage perks aren’t worth it in Multiversus right now. While 7% or 15% sounds like a lot, it will only realistically add three or four damage per combo. Plus, these perks won’t activate consistently if you hit someone for less than 10% damage.
Snowball Effect is an exception since, when stacked, its effect is drastic and unconditional enough for your team to get plenty of value from it. Just make sure you chase whoever has the most damage. If that opponent runs away then it opens up a 2v1 situation on the other opponent.
Be aware that If you or your teammate have the highest damage, this perk won’t activate. When that happens, play it safe and slow the game down until you can rack up enough damage on an opponent to get Snowball back.
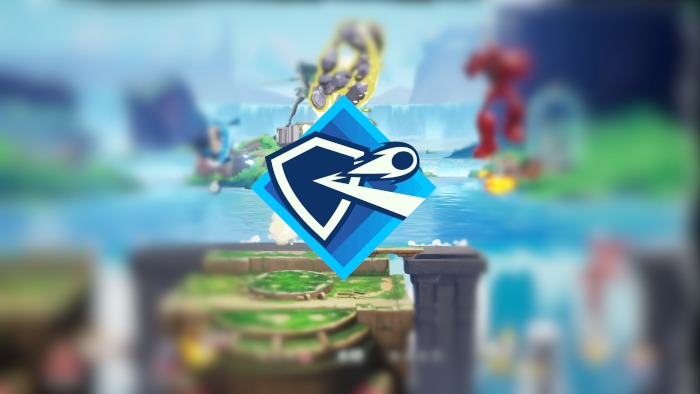
2. School Me Once
Effect:
- Solo: Your team receives a projectile block buff for 2 seconds after being knocked back by a projectile.
- Stacked: Increased to 4 seconds instead of 2 seconds.
If you’re facing down any team that’s heavily reliant on projectiles, then School Me Once will be worth its weight in gold. This is particularly effective against Velma, Tom & Jerry, and Reindog. The shield you gain will give you the opportunity to close the gap against characters that would otherwise make your life a living hell.
It’s not recommended to stack this perk just because the additional two seconds will rarely be useful. However, if you’re staring down the barrel of a team made from two projectile heavy characters then stacking this perk will be a lifesaver. At that point in time, the additional two seconds means more projectiles blocked and more opportunities to close the gap.
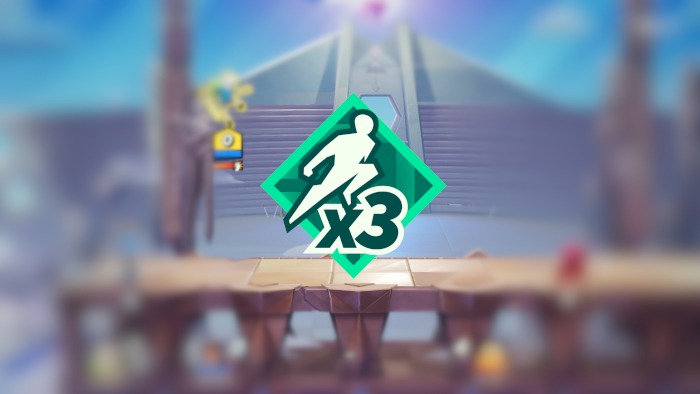
3. Triple Jump
Effect:
- Solo: Your team receives an extra jump after hitting an enemy while in air.
- Stacked: Your team always has an extra jump.
The best utility perk you could ask for in Multiversus. It extends air combos, increases your recovery options, and improves kill options off the top of the stage. Characters like Harley and Aria especially benefit from this because it enables their up-air combos to turn into kills more often.
When you’re knocked off stage or clinging to a wall, triple jump makes you a more difficult target to edgeguard. Being able to jump once away from the wall, dodge immediately, then jump again back toward the wall helps evade spikes. Finding the optimal mix of your two dodges, two jumps, and two specials can help you evade an entire team.
Triple Jump should always be stacked just to make the most of the perk. If your teammate doesn’t stack this, then you won’t get access to the majority of Triple Jump’s defensive uses. In the least, one stack is still useful for air combo extensions.
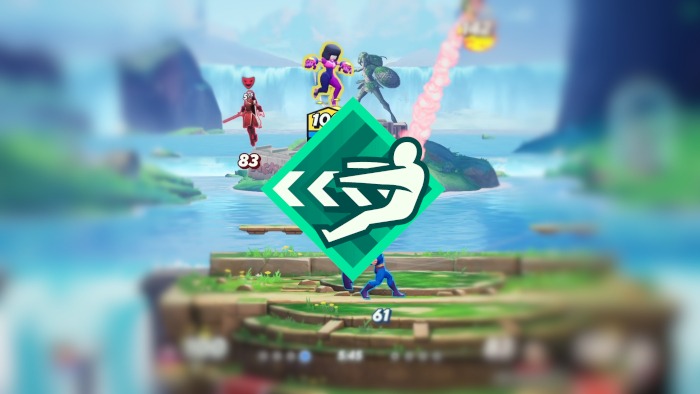
4. Tasmanian Trigonometry
Effect:
- Solo: Your team receives 15% increased base knockback influence
- Stacked: Increased to 25% instead of 15%.
Arguably Multiversus’ best defensive perk, Tasmanian Trigonometry gives you more influence on where you’re flying. A great example of this would be if you’re hit directly upward. Based on which direction you push the joystick, players can influence the direction they fly upward at. This can be the difference between a lost stock and surviving by the skin of your teeth. In that example, you could hold left or right on the joystick and have a higher chance of surviving.
Because of how Directional Influence works, Tasmanian Trigonometry becomes a powerful defensive tool when stacked. 25% more influence means it will take more damage and more hits in order to get a kill. This perk is highly recommended if you’re up against Shaggy or Finn since they rely on landing one or two large hits.
5. Toon Elasticity
Effect:
- Solo: Your team receives a 20% reduction to ground and wall bounce velocity.
- Stacked: 25% reduction instead of 20%.
This is a heavily underrated perk for how useful it is because Multiversus is filled with maps that have close walls or obstacles in the way. As a result, when you get knocked away, there’s a good chance you’ll hit a wall or bounce off the ground before you get eliminated. Toon Elasticity ensures that you won’t immediately die from those kinds of hits.
A common argument against this perk is how, on flat stages, Toon Elasticity feels particularly weak. But even in those situations, some characters will try to secure kills by bouncing you off the stage’s floor to get a kill off the top. Toon Elasticity in those scenarios will keep you alive for much longer.
6. Coffeezilla
Effect:
- Solo: Your team receives 10% reduced ability Cooldown duration.
- Stacked: 15% reduced ability Cooldown instead of 10%.
Cooldown management perks in Multiversus are incredibly useful. Coffeezilla stands out from the others because of its consistent payoff. It’s a simple 10% (15%) reduction with no additional effort required. This means you’ll always benefit from it, even if your team is doing poorly.
Bugs and Velma are two particular characters that benefit the most from this. Shorter cooldowns allows them to cover the screen with more projectiles. For Velma, a lower cooldown also means she can activate “Spread the Knowledge” more often, which drastically decrease her team’s cooldowns whenever she uses that skill.
Comparative skills to Coffeezilla are I Dodge, You Dodge, We Dodge (IDYDWD), and I’ll Take That. These skills also decrease cooldown duration, but unlike Coffeezilla, they’re performance based. IDYDWD is great for players that dodge through attacks a lot. I’ll Take That is better for characters that have easy access to debuffs and hit fairly often.
Looking for more Multiversus content? Here’s an article that compares Super Smash Brothers to Multiversus, and a list of the best platform fighters in 2022.


